 |
Here We Go Again!
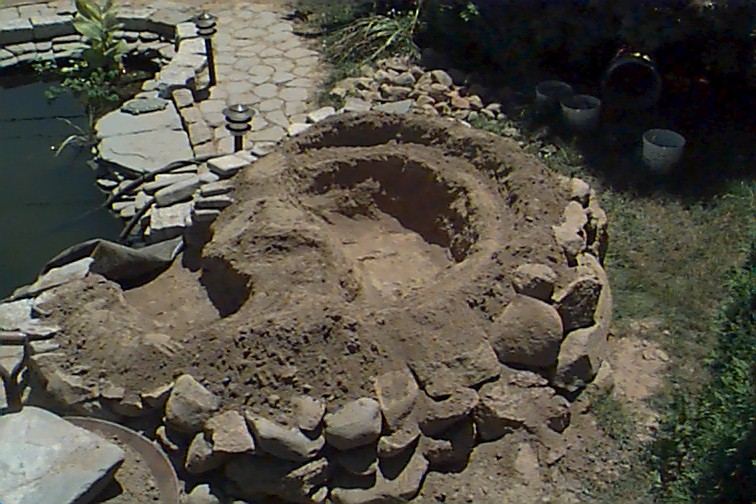
This time I really had no clue what I was doing. My
preplan for the waterfall was the pile dirt in one area, buy a piece of liner to cover it,
and two large flat rocks.
I went with what I did before, I dug a hole in the pile
and a shelf for the edge rocks. I then made one side lower and added a stream bed. (I
think) |
 |
A Lot Faster.
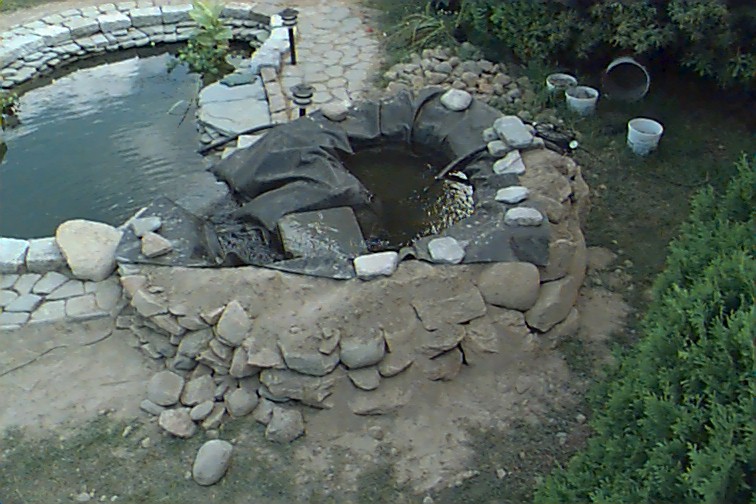
Placing this liner was a lot easier not only was it
smaller but Bev was home and she gave me a hand. Remember those two big flat rocks, well I
put one on top and the other at the bottom of the stream into the pond. I dragged the hose
over and started to fill it up. As I watched this fill up, much quicker than the 800
gallon pond, I thought; If I would have gone with a nice small water feature like this in
the middle of a garden spot, I could have saved a ton of money on Advil. |
 |
Talk About Stubborn!
Now maybe everyone else is well aware of this, as was I,
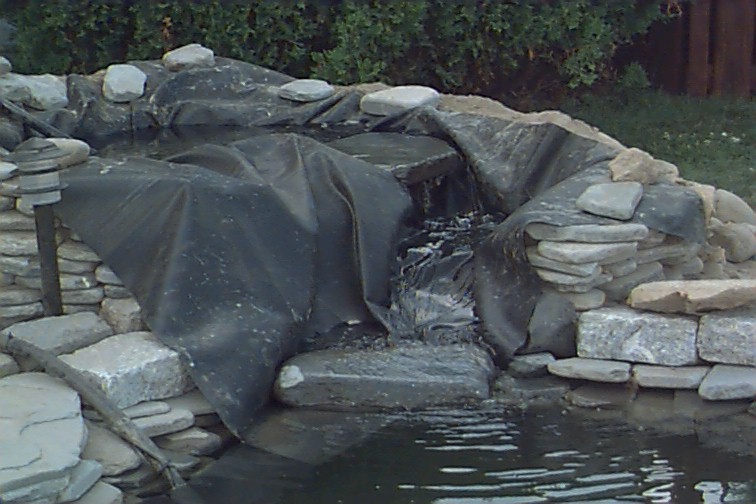
but let me tell ya, water goes where IT wants, not where YOU want. The hole was full the
water began to "under"flow, yup under the rocks not over them, OK! We picked up
the liner and use the rock to flatten the dirt so it wouldn't go under, that worked like a
charm. Now the water began to "around" flow, yup around the edges of the rock.
Pack and push dirt and liner to the edges. Trust me this goes on longer than I want to
type about but we finally come to a compromise with the water and it goes up, under and
around everything. And they call ME stubborn. |
 |
Been There! Done That!
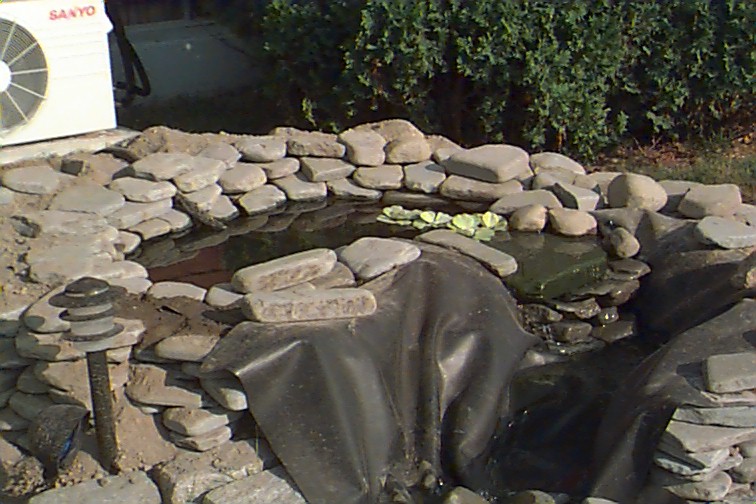
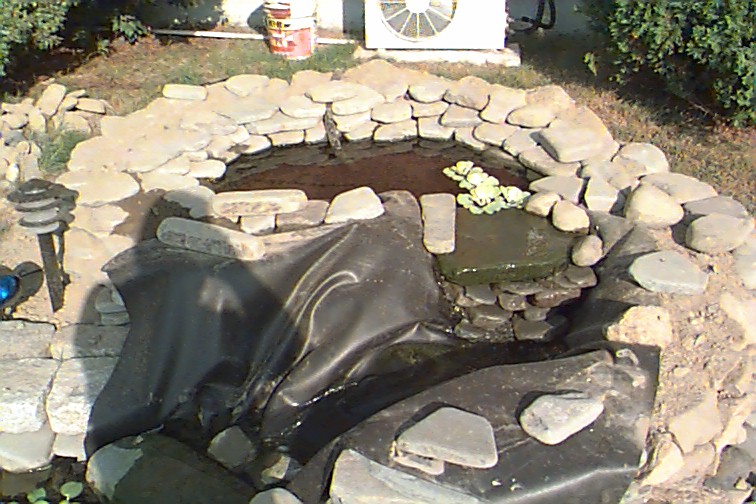
The edge rocks on top was a repeat of what we did on the
pond so that went well. I put some water cabbage up top to pretty it up, but the liner for
the stream bed is gonna be a tough one to cover. |
 |
One Down, One to Go.
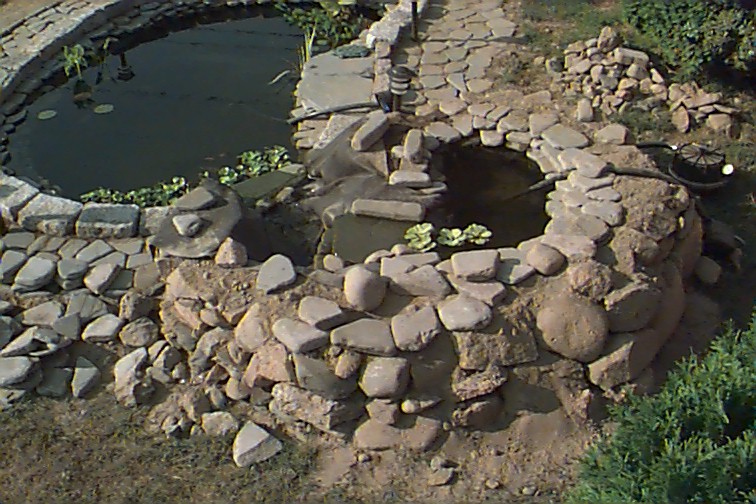
As I said, we have a good flow of water from the header
pool into the stream, and actually the stream flows really well. Problem here is I haven't
seen many pond streams with a black rubber bed, so I will be "Pond"ering this
one for a while. |
 |
Dig 'em Up, Stack 'em Up.
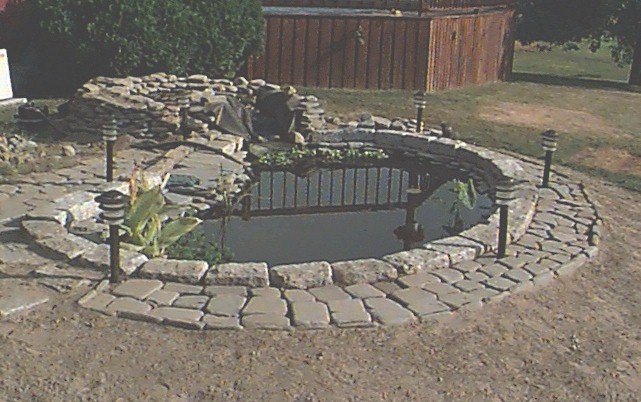
I just thought I would show you what happen to most of
"RockZilla's" relatives and friends. They wouldn't leave so I stacked them up to
shore up the dirt for the water fall. I Hope to do some rock garden planting up this side. |
 |
Almost Done
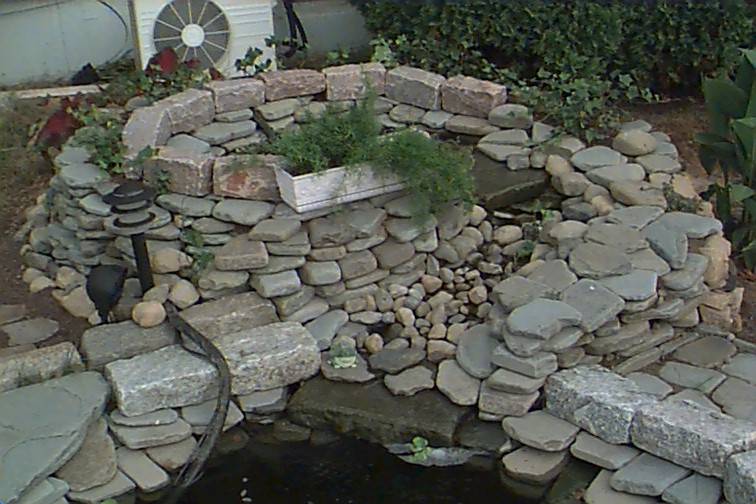
Well almost all the construction, lighting and rock work
is over. After, or maybe even before I figure out how to hide the stream liner, the
landscaping will begin. I hope you are all getting as much pleasure out of this as I am
fooling with it. |
 |
The Final Fall
After much thought, talk and ideas from friends
relatives and the strangers that I stopped in the road, the decision was made...more
rocks!
I lined the creek bed with stone (formally known as
"Zilla" droppings) and built up a liner wall to cover the cascading liner.
I then capped it all with small pink cobblestone and
planted various ivies around the header pool. Now on to the landscaping. |